The six steps to making your own patchwork bathroom tiles
You don't need a big budget to create the bathroom of your dreams. Blogger Germarie Bruwer from Homeology shares six steps to making your own beautiful patchwork tiles for your bathroom.

Patchwork tiles are very trendy, but re-tiling a bathroom can be an expensive and messy exercise. I really love patchwork tiles and decided to take the plunge and stamp my existing plain shower tiles to create a trendy black and white pattern.

This is what my shower looked like: plain, simple, and quite uninspiring. The metal content in our water on the farm is very high, so things that come into regular contact with water don’t stay white for very long. I didn’t have very high hopes for the white tiles, and figured I didn’t have much to lose by trying something different!
YOU WILL NEED
- 15cm x 15cm tile stamp (you can get yours from Homeology Shop)
- Tile primer – I used A. Shak Tile Primer
- Water-based paint, suitable for use in a bathroom – I used Plascon Polvin Matt Acrylic in black
- Sponge rollers and pans – one for the primer and one for each paint colour
Step 1

Use the sponge roller to apply primer to clean, dry tiles. For the number of coats and curing time, follow the primer manufacturer’s instructions. We applied three layers of primer, allowing for each coat to dry before applying the next, and then let it cure for 24 hours.
Step 2

Using undiluted paint, apply a thin layer of paint to the stamp.
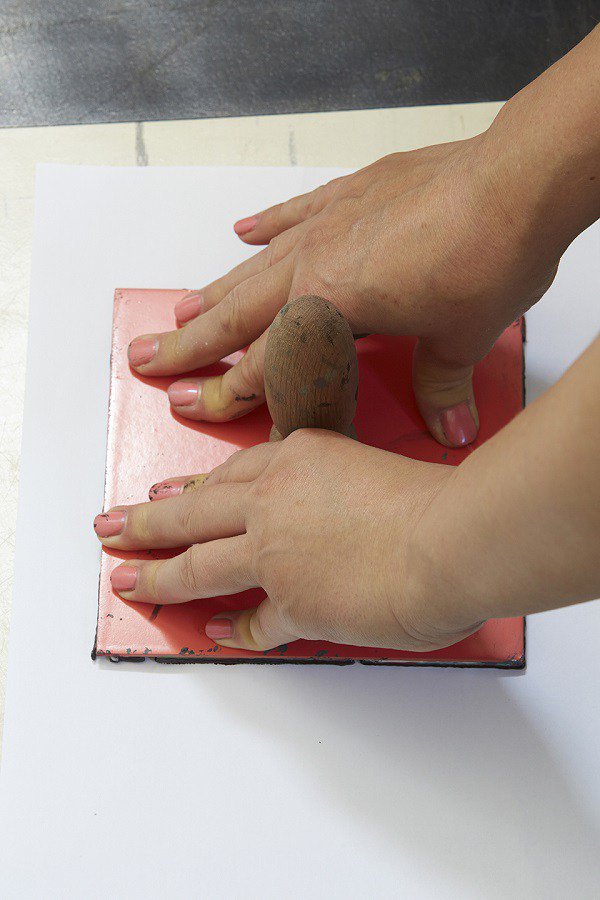
Step 3

Always test the print on a piece of paper first to see how much pressure you need to apply to get the desired look. Keep in mind that it is a hand-printing technique, so every print will look different.
TIP: You can use the test paper afterward for gift wrap or to make cards!
STEP 4
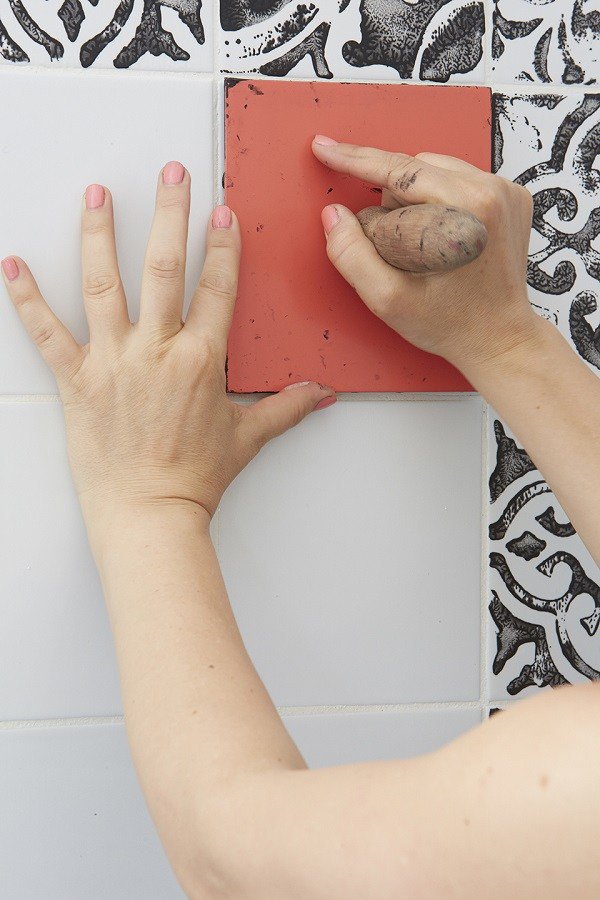
Once you are happy with the print, you can start to print on the tiles directly. Use one hand to carefully position the stamp and the other to apply pressure once it’s in place.
STEP 5
Carefully apply pressure along all four corners, taking care not to move the stamp. If you accidentally smudge the print, you can quickly wipe it off with the clean cloth and allow the tile to dry before re-stamping.
STEP 6

When you’re happy with the result, slowly lift the stamp by tilting it onto one of its edges before taking it away from the wall. If the print is too light, you can easily re-stamp it, taking care to get the same position as the first print.
TIP: Keep the edges of your stamp clean and free from excess paint to ensure a clean print.

Use a piece of clean paper to mask adjacent tiles when you’re printing half tiles.


For more inspiring home content, check out homeology.co.za.